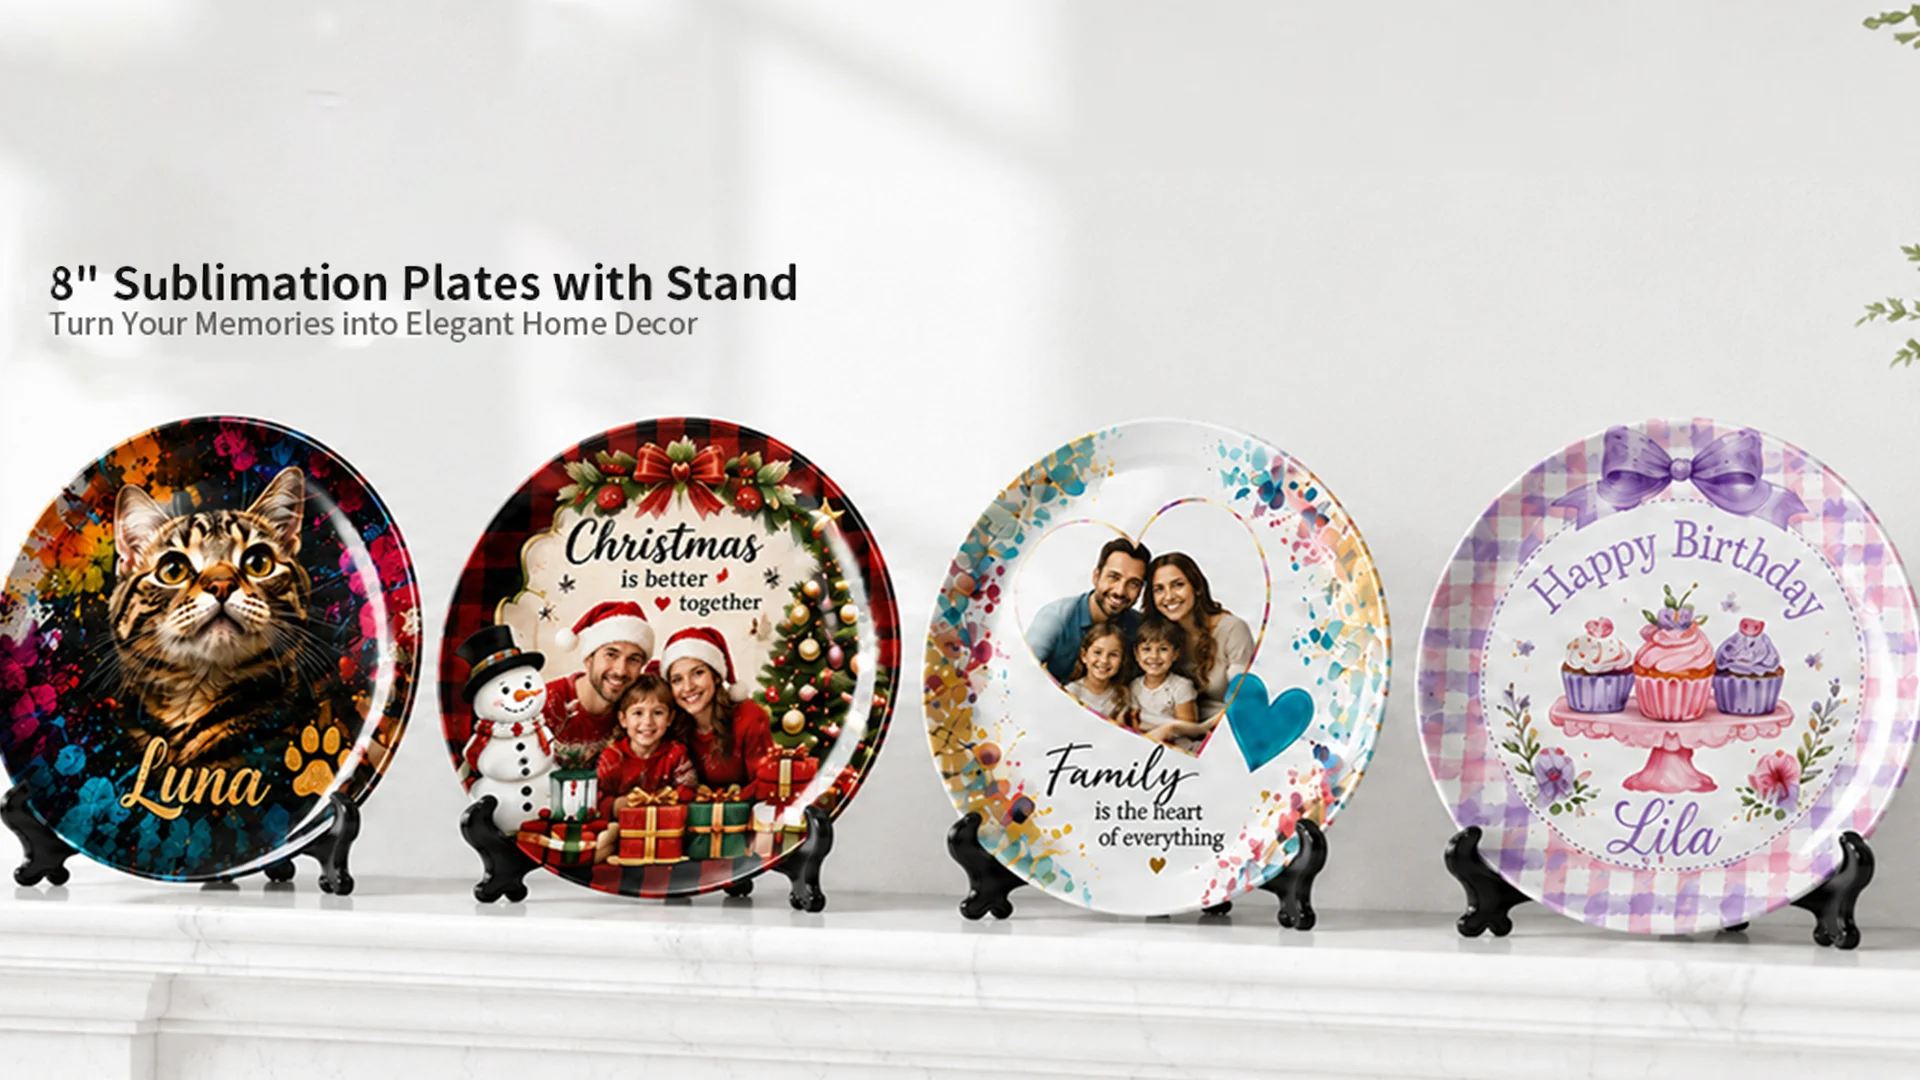
1.How to Sublimate 8-Inch Ceramic Plate with Vacuum Oven
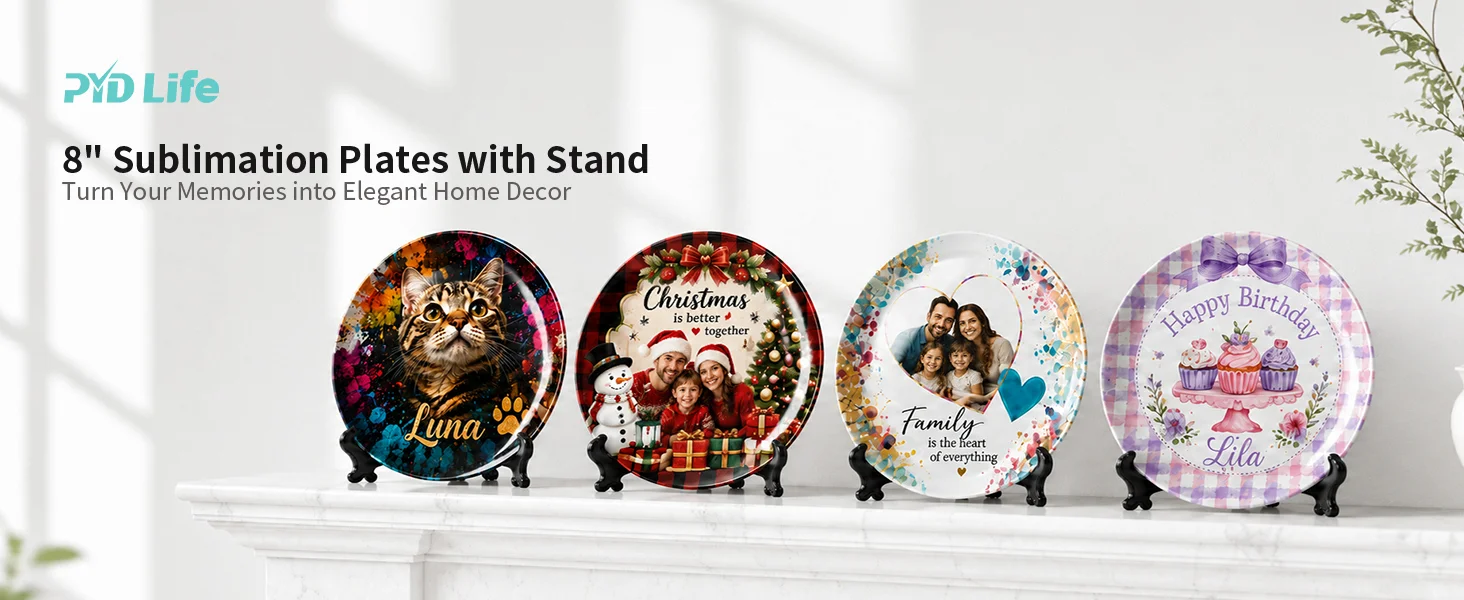
Want to turn 8-inch ceramic plate into a personalized photo plate or decorative gift?
Can you sublimate an 8-inch ceramic plate with a vacuum oven?
How do you prepare the design?
How do you choose the right vacuum tray?
Yes! A vacuum sublimation oven can transfer photos, artwork, names, quotes, and other designs onto a properly coated ceramic plate.
1.1.What Do You Need to Sublimate an 8-Inch Ceramic Plate?
Do you have everything ready before starting?
- 8-inch sublimation ceramic plate
- Sublimation printer and ink
- Sublimation paper
- Heat-resistant tape
- Suitable vacuum tray
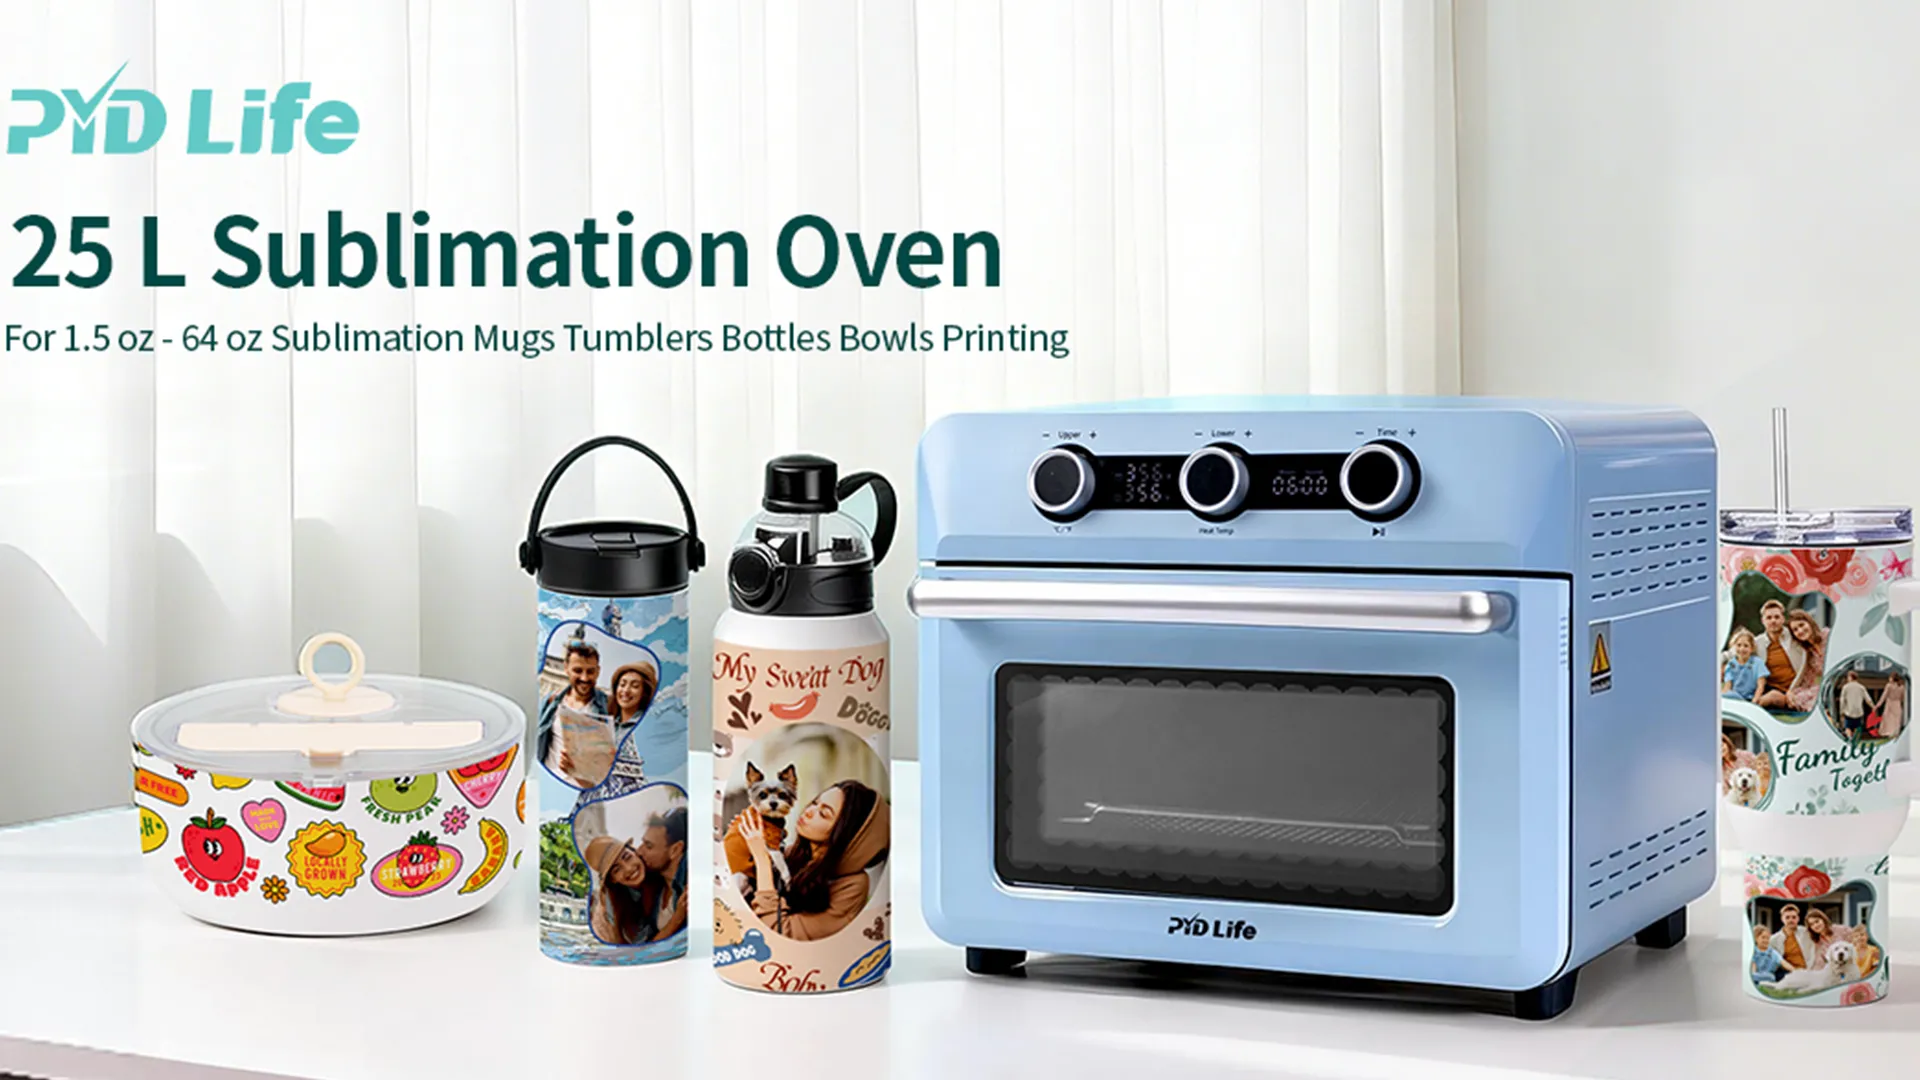
- Vacuum sublimation oven
- Heat-resistant gloves
Which vacuum tray should you choose?
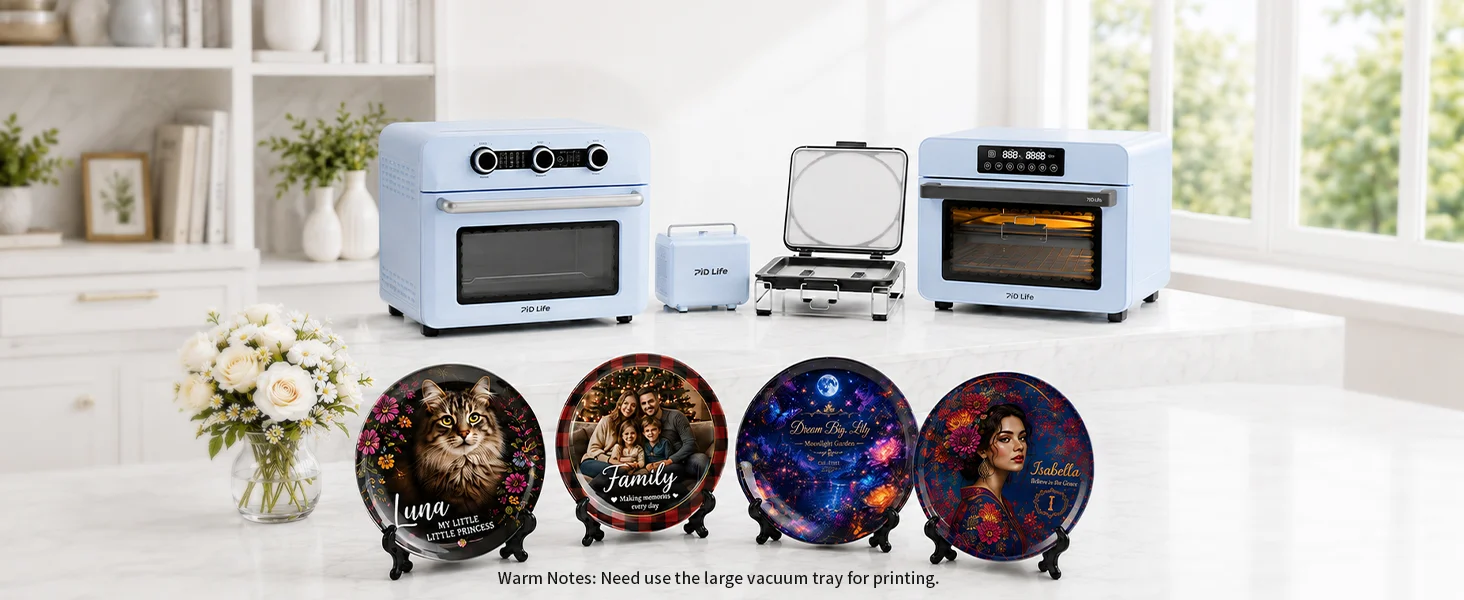
Should the vacuum tray be large enough to fully accommodate the 8-inch ceramic plate?
Yes. Always choose a vacuum tray with enough usable space for the entire product. Could a tray that is too small prevent the plate from sitting properly or receiving even vacuum pressure? It could.
1.2.How to Prepare the Design?
What should you print on the ceramic plate?
Could you use a family photo, pet portrait, wedding design, logo, floral artwork, or personalized message?
Yes. Before printing, should you make sure the artwork fits within the recommended printable area of the 8-inch plate?
Absolutely. Keeping the design within the recommended print area can help prevent edges from being cut off or transferred unevenly.
Should you mirror the design?
yes—please mirror your design before printing.
1.3.How to Attach the Sublimation Design?
How do you keep the printed design from moving?
First, place the printed sublimation paper against the coated surface of the ceramic plate.
Can you secure the paper with heat-resistant tape?
Yes.
Should the paper be flat and wrinkle-free?
Definitely.
For a better fit, carefully cut along the edge of the design and leave approximately 0.4 inch of paper around the design area.
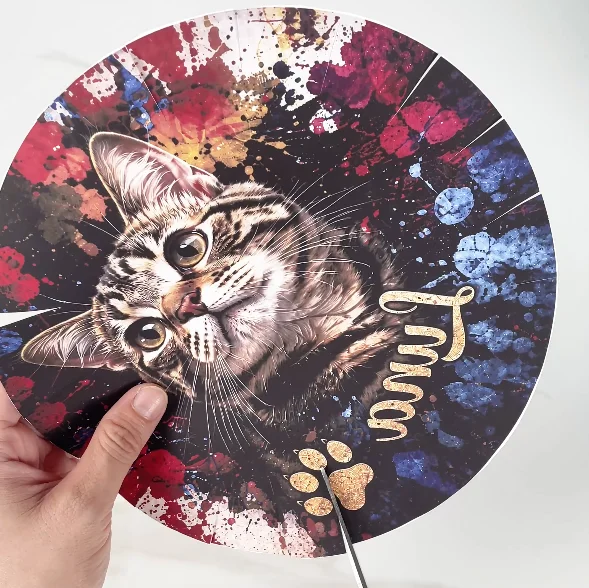
Why is this extra margin helpful?
Could it make the paper easier to fold and secure around the curved or raised edges of the plate?
Yes.
What should you do after securing the design?
Add an additional paper pad on the edge of plate to help vent air during the vacuum process.
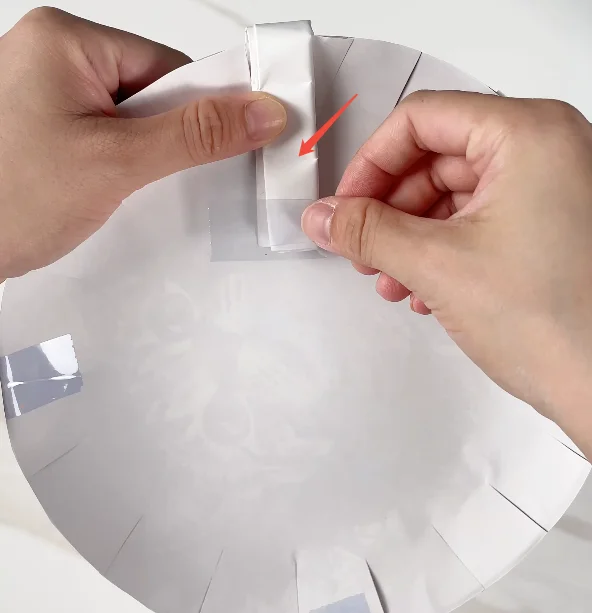
Why is this extra paper important?
Could it help air escape more evenly and improve contact between the sublimation paper and the coated surface?
Yes. Proper contact and air venting can help create a more consistent sublimation result.
1.4.How to Place the Ceramic Plate in the Vacuum Tray?
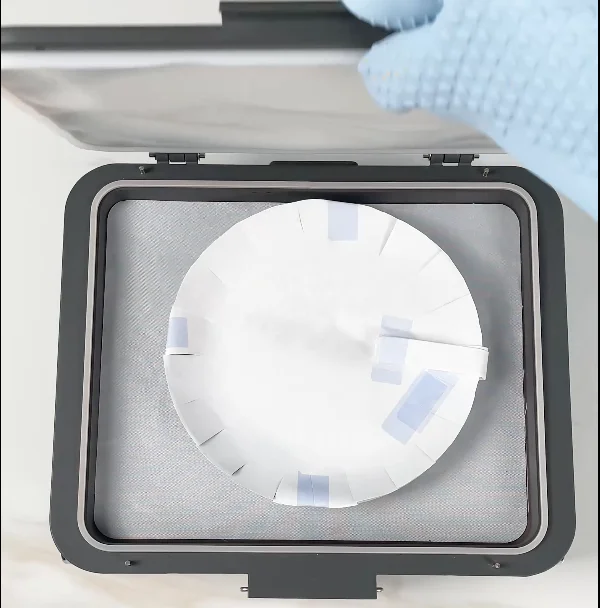
Is the vacuum tray ready?
Before placing the plate inside, should you confirm that the tray can comfortably accommodate the entire 8-inch ceramic plate?
Yes.
Can you place the prepared plate flat and centered inside the vacuum tray?
Yes. Would keeping the plate stable help prevent the design from shifting during sublimation?
Absolutely.
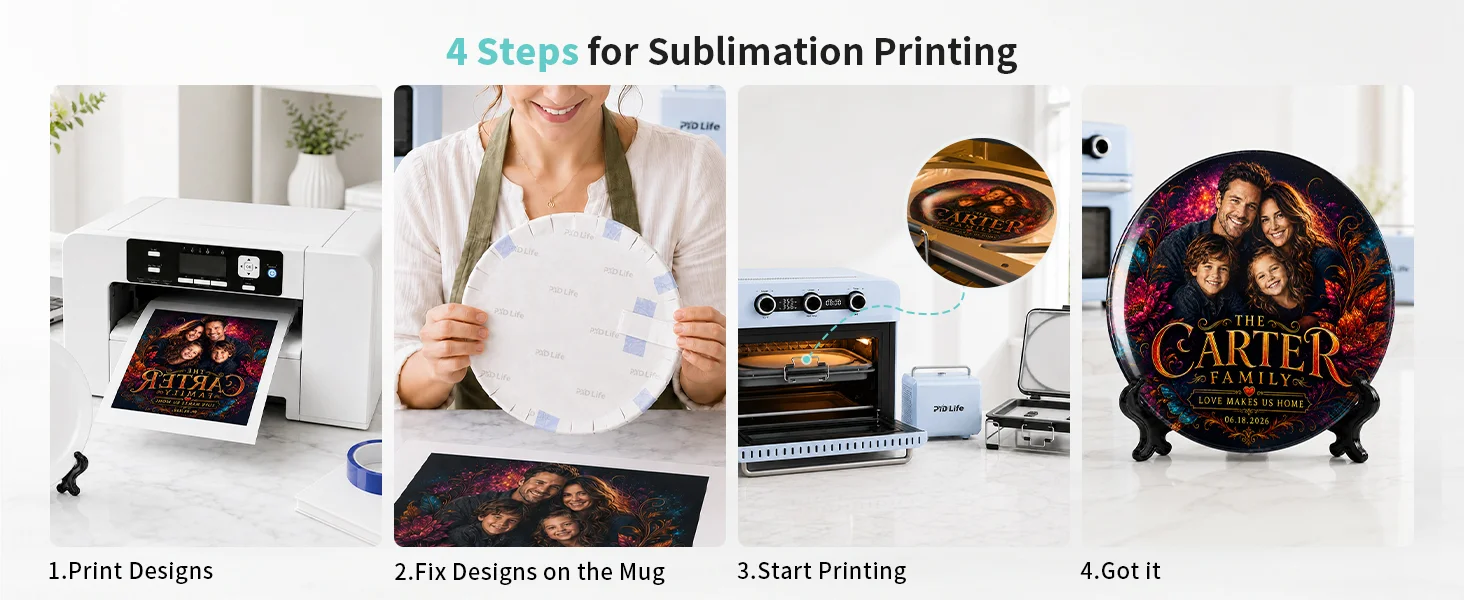
1.5.How to Sublimate an 8-Inch Ceramic Plate in a Vacuum Oven?
Should you preheat the vacuum tray before starting?
Yes. Preheat the vacuum tray for about 20 minutes.
After preheating, can you place the prepared ceramic plate into the tray immediately and apply vacuum pressure according to your vacuum tray setup?
Yes.
What temperature and time should you use?
For this 8-inch ceramic sublimation plate, use:
356°F for 10 minutes
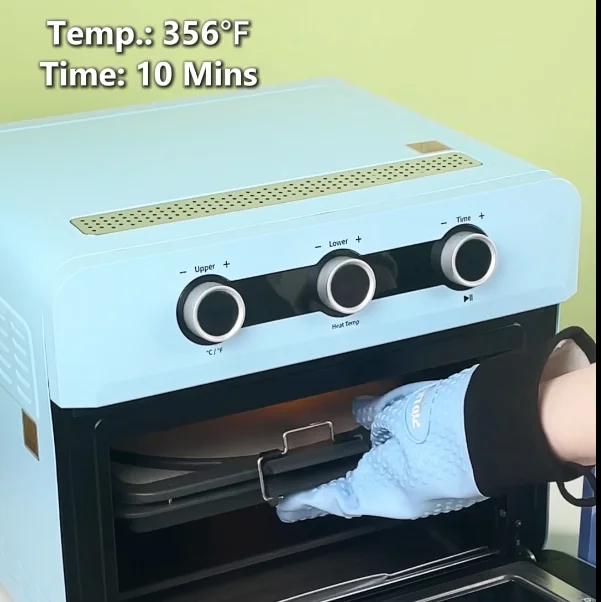
Should you keep the plate stable throughout the heating process?
Yes. A stable setup can help maintain proper alignment and consistent contact during sublimation.
1.6.How Can You Get a Better Sublimation Result?
Want a bright, sharp, and even transfer?
Could these simple checks help?
- Is the ceramic plate clean and free of dust?
- Is the design within the recommended printable area?
- Is the sublimation paper flat?
- Is the design securely taped?
- Did you add extra paper to help vent air?
- Is the vacuum tray large enough for the entire 8-inch plate?
- Is the plate positioned securely and evenly?
- Are you using the recommended temperature and time?
Would testing one plate before producing a larger batch?
Absolutely. Different printers, inks, papers, coatings, and vacuum setups can produce different results, so testing is always recommended.
1.7.FAQ: 8-Inch Ceramic Plate Sublimation
Can I sublimate an 8-inch ceramic plate in a vacuum oven?
Yes. A properly sublimation-coated 8-inch ceramic plate can be personalized using a vacuum sublimation oven.
How do I choose a vacuum tray for an 8-inch ceramic plate?
Should the tray be large enough to fully accommodate the 8-inch plate?
Choose a vacuum tray with sufficient usable space for the complete plate and enough room for proper vacuum contact.
Why should I add extra paper pad after attaching the design?
Adding an additional paper pad on the edge of plate can help vent air during the vacuum process and promote more even contact between the sublimation paper and the coated surface.
Should I mirror the design?
For most sublimation transfers, yes. Mirror the artwork before printing unless the specific product instructions indicate otherwise.
What temperature and time should I use?
The suggested starting setting for this 8-inch ceramic sublimation plate is 356°F for 10 minutes. Always test the settings with your specific equipment and materials.
Can I use any vacuum tray?
No. Should you select a tray based on the actual size and shape of your ceramic plate?
Yes. The tray must be large enough to accommodate the entire product and allow the vacuum process to work properly.