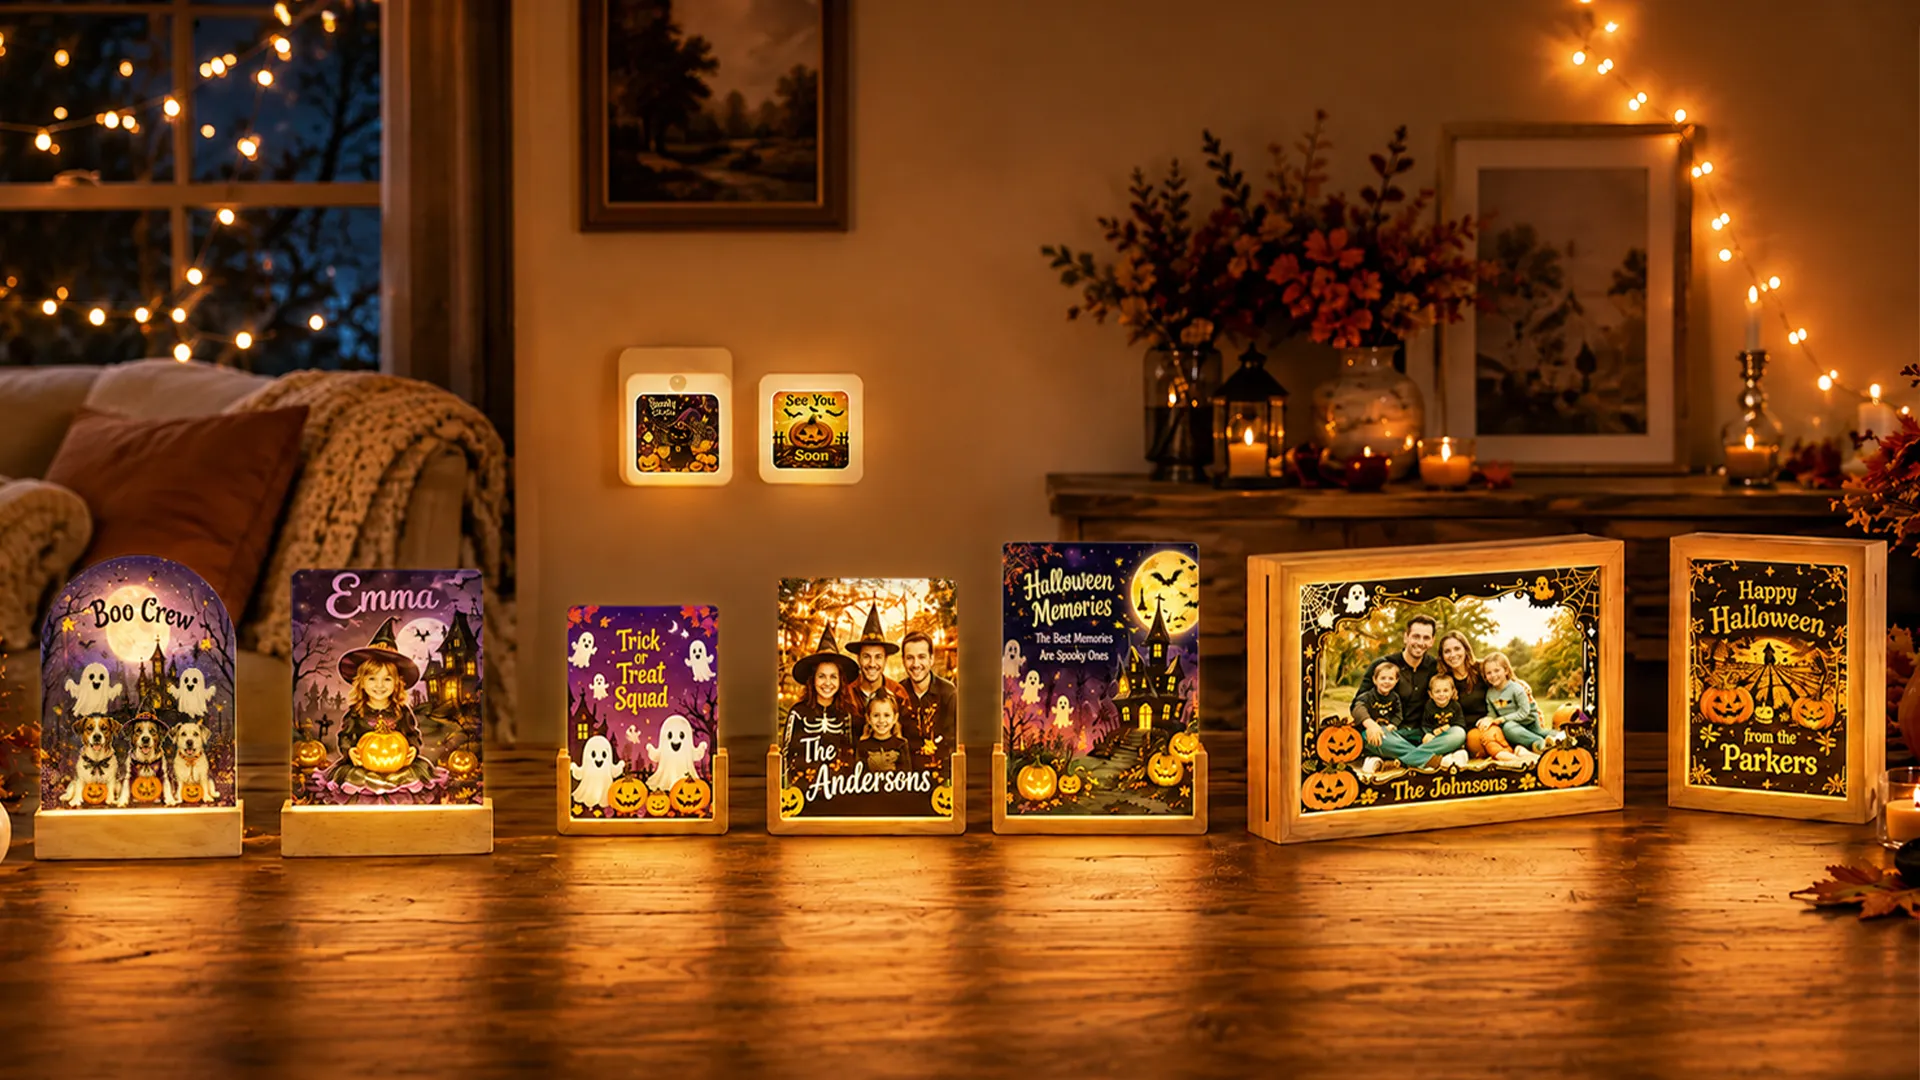
1.Best Settings for Sublimation Night Lights Blank
Have you ever wondered:
- What are the best sublimation settings for night lights?
- Why are the colors not as vibrant as expected?
- Can I use the same settings for glass photo frames and acrylic night lights?
- How do I avoid ghosting and blurry images?
- What temperature and time should I use for sublimation night lights?
If you're creating personalized LED night lights, photo lamps, or illuminated keepsakes, finding the correct temperature and time settings is essential for achieving bright colors, sharp details, and professional-quality results.
In this guide, we'll cover recommended settings, common troubleshooting issues, and tips for producing high-quality sublimation night lights.
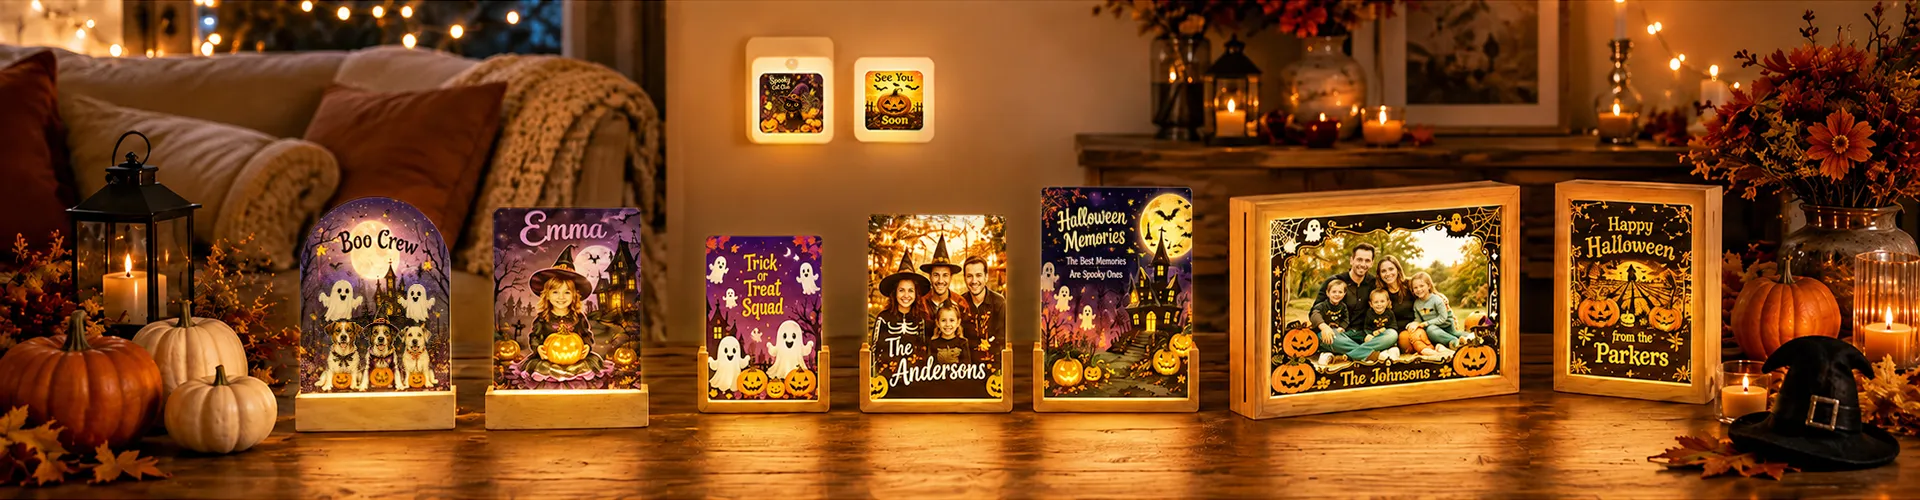
2.What Types of Sublimation Night Lights Are Available?
Before discussing settings, it's important to understand the two most common night light styles.
2.1.Glass Photo Frame with Wooden Stand
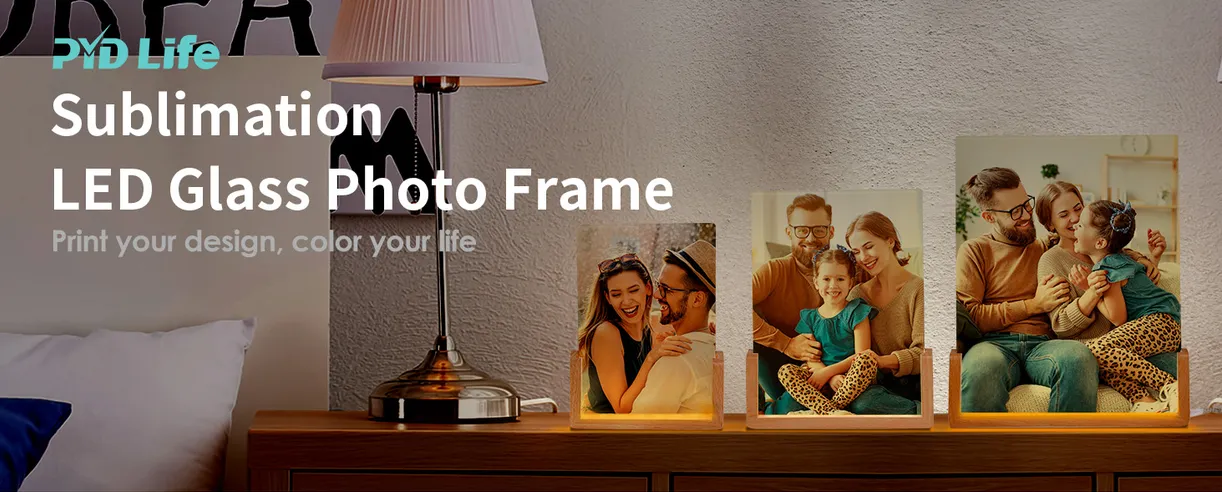
These products typically feature:
✅ Glass sublimation panel
✅ Wooden LED base
✅ Edge-lit display effect
✅ Premium home decor appearance
Perfect for:
- Family photos
- Pet memorial gifts
- Wedding gifts
- Anniversary keepsakes
2.2.A4/A5 Night Light LED Photo Frames Panel with Glass Sheets
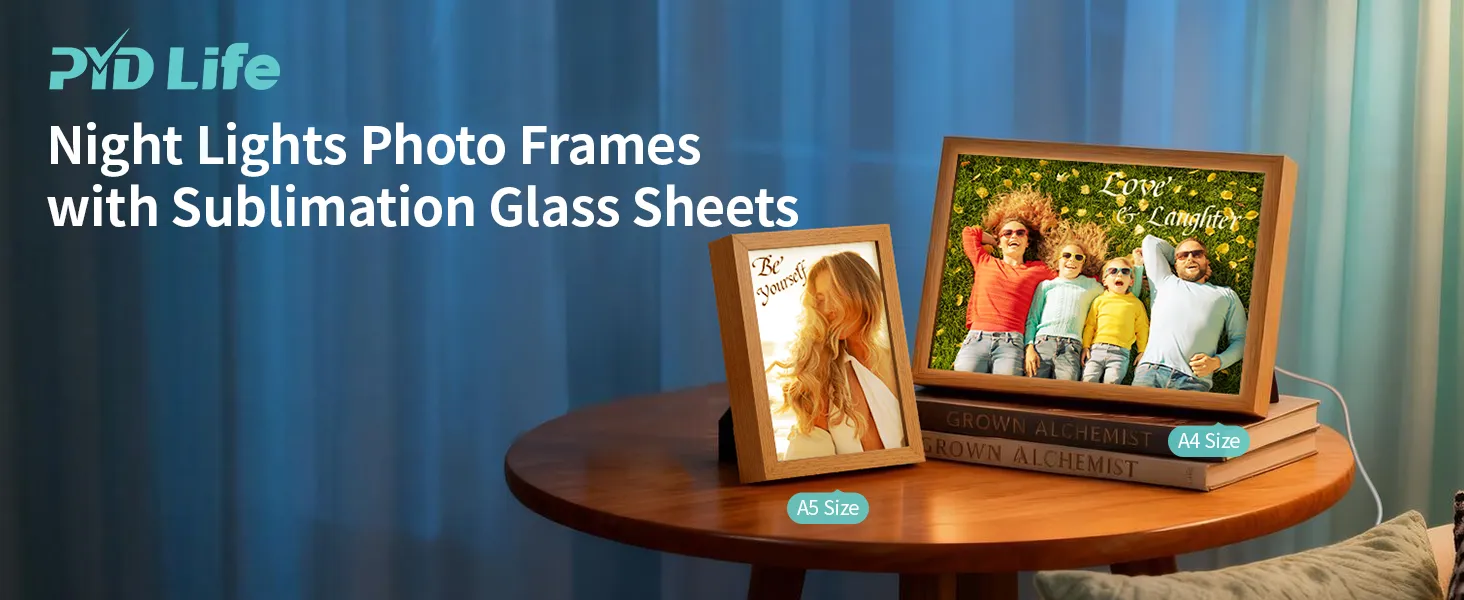
These products typically feature:
✅ Glass sublimation panel
✅ Wooden LED frame powered by USB
✅ Three light modes with 10 levels of adjustable brightness
Perfect for:
- Baby photos
- Wedding dates and anniversary gifts
- Pet pictures and memorial keepsakes
2.3.LED Acrylic Photo Frames
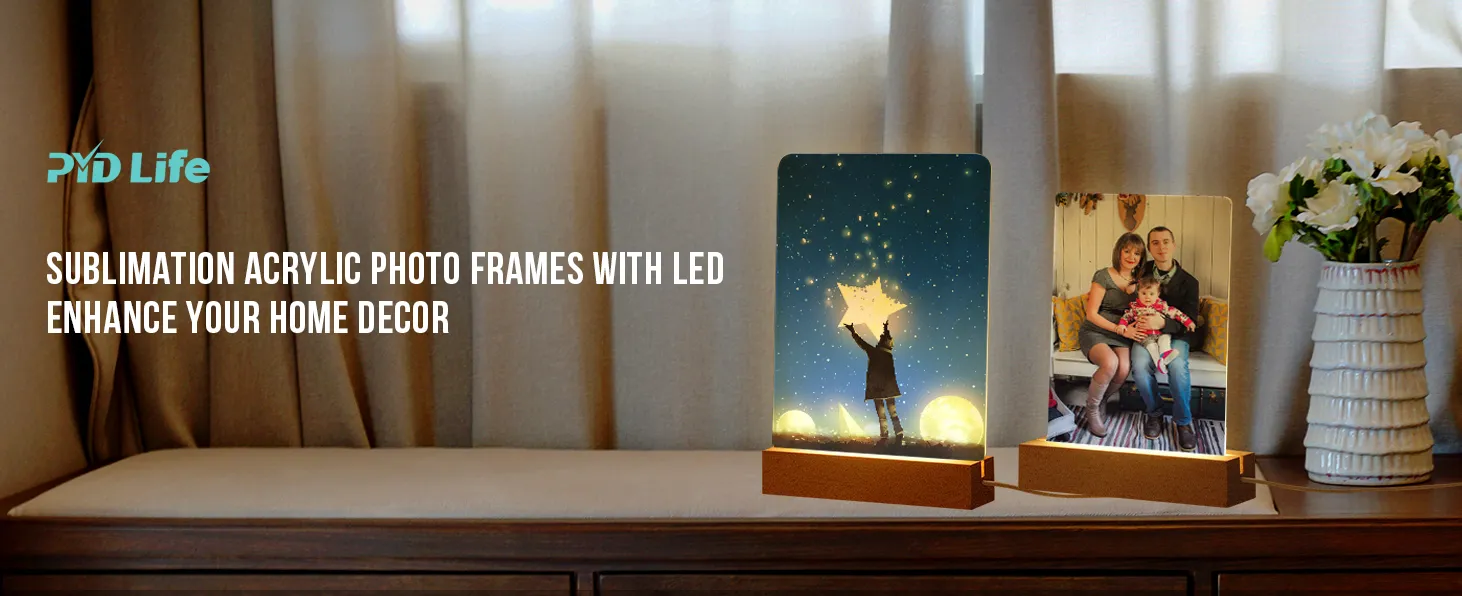
These products typically feature:
✅ Acrylic sublimation panel
✅ USB-powered wood base with warm LED light
✅ Great for custom photos, home decor, and gifts
Perfect for:
- Graduation photos
- Baby announcements and nursery decor
- Pet memorials
- personalized home decor
2.4.LED Night Light Plug
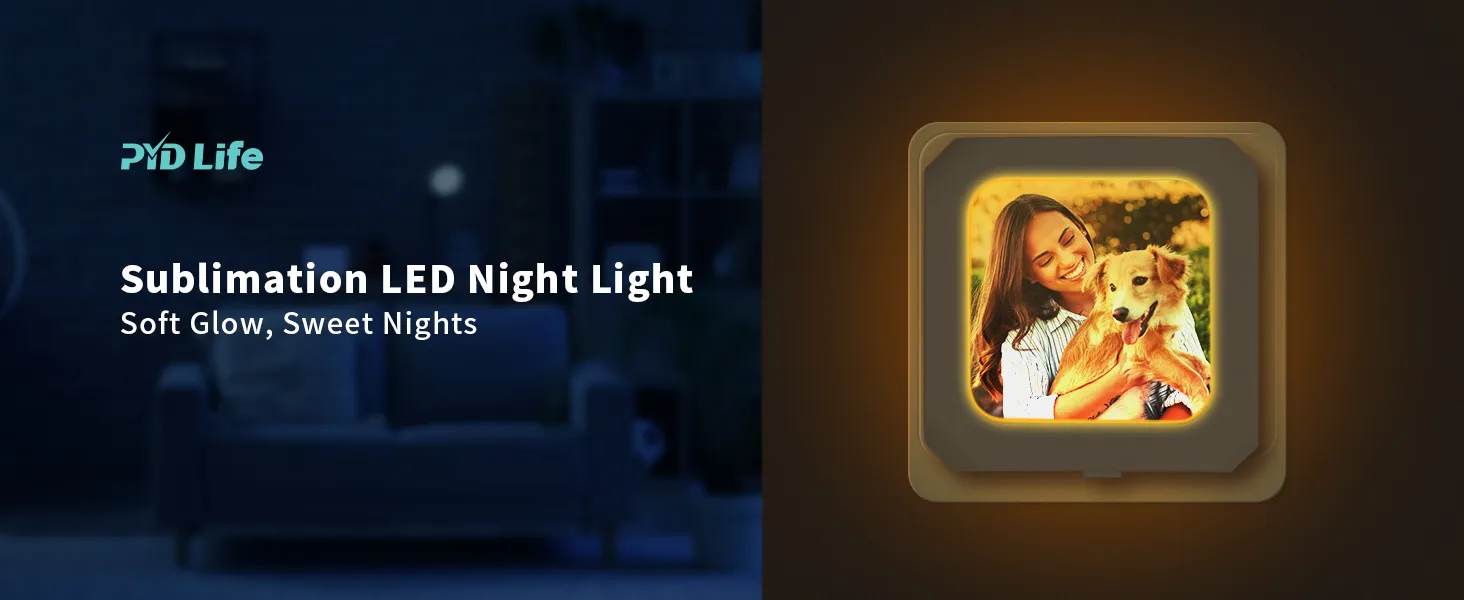
These products typically feature:
✅ Acrylic sublimation insert
✅ LED wall plug
✅ Lightweight design
✅ Personalized decorative display
Popular for:
- Kids' rooms
- Name signs
- Holiday gifts
- Custom home decor
Although both products illuminate after assembly, the sublimation process differs slightly because glass and acrylic react differently to heat.
3.Best Settings for Sublimation Glass Photo Frame with Wooden Stand
One of the most common questions is:
What temperature should I use for sublimation glass photo frames?
Recommended Starting Settings
- Temperature: 374°F (190°C)
- Time: 180 Seconds (3 Minutes)
- Pressure: Medium
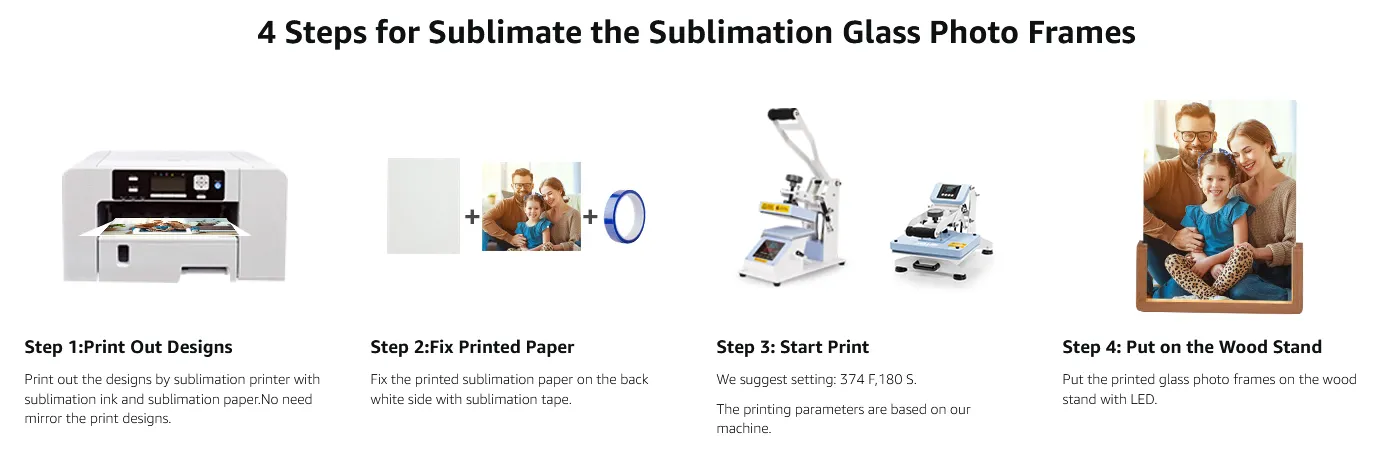
🔴Warm Tips:printing side face down when heat pressing,If your design contains text, please do not mirror before printing.
Why Does Glass Require Longer Press Times?
Glass transfers heat more slowly than many other sublimation blanks.
The additional heating time helps ensure:
✅ Complete color transfer
✅ Rich color saturation
✅ Sharp image reproduction
✅ Consistent edge-to-edge results
4.Best Settings for A4/A5 Night Light LED Photo Frames Panel with Glass Sheets
Recommended Starting Settings
- Temperature: 356°F (180°C)
- Time: 180 Seconds (3 Minutes)
- Pressure: Medium
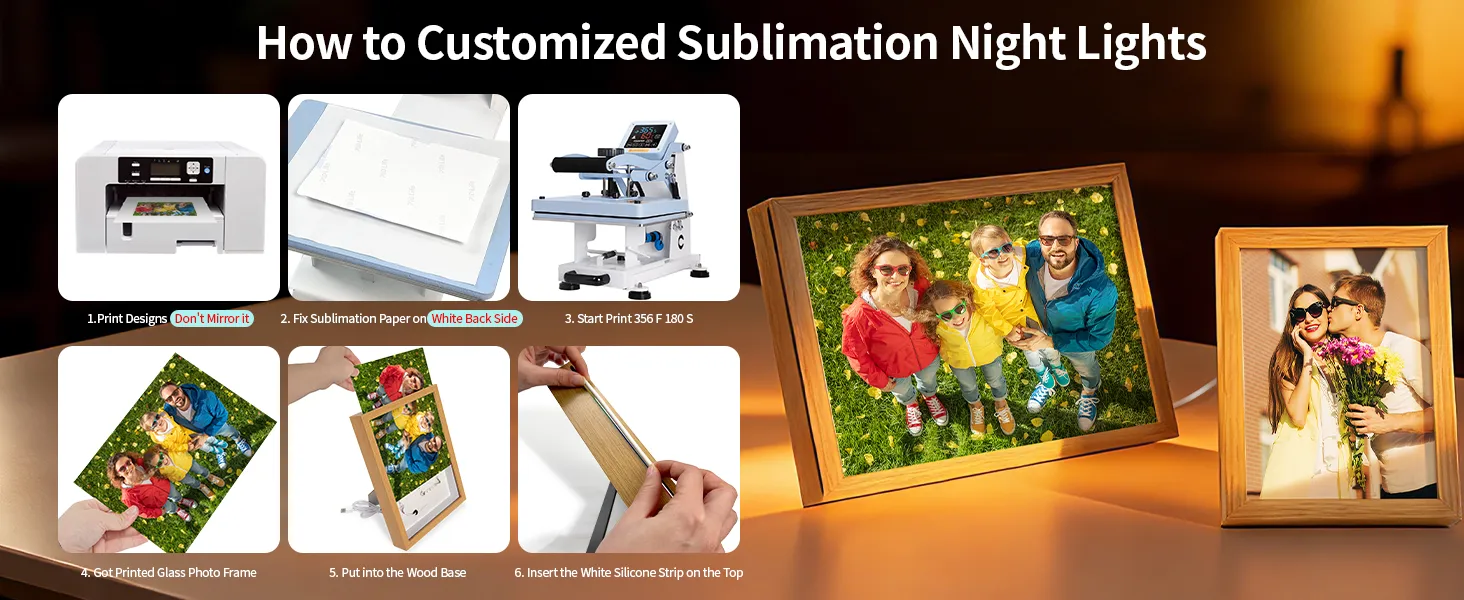
🔴Warm Tips:printing side face down when heat pressing,If your design contains text, please do not mirror before printing.
5.Best Settings for LED Acrylic Photo Frames
Recommended Starting Settings
- Temperature: 356°F (180°C)
- Time: 120 Seconds (2 Minutes)
- Pressure: Medium
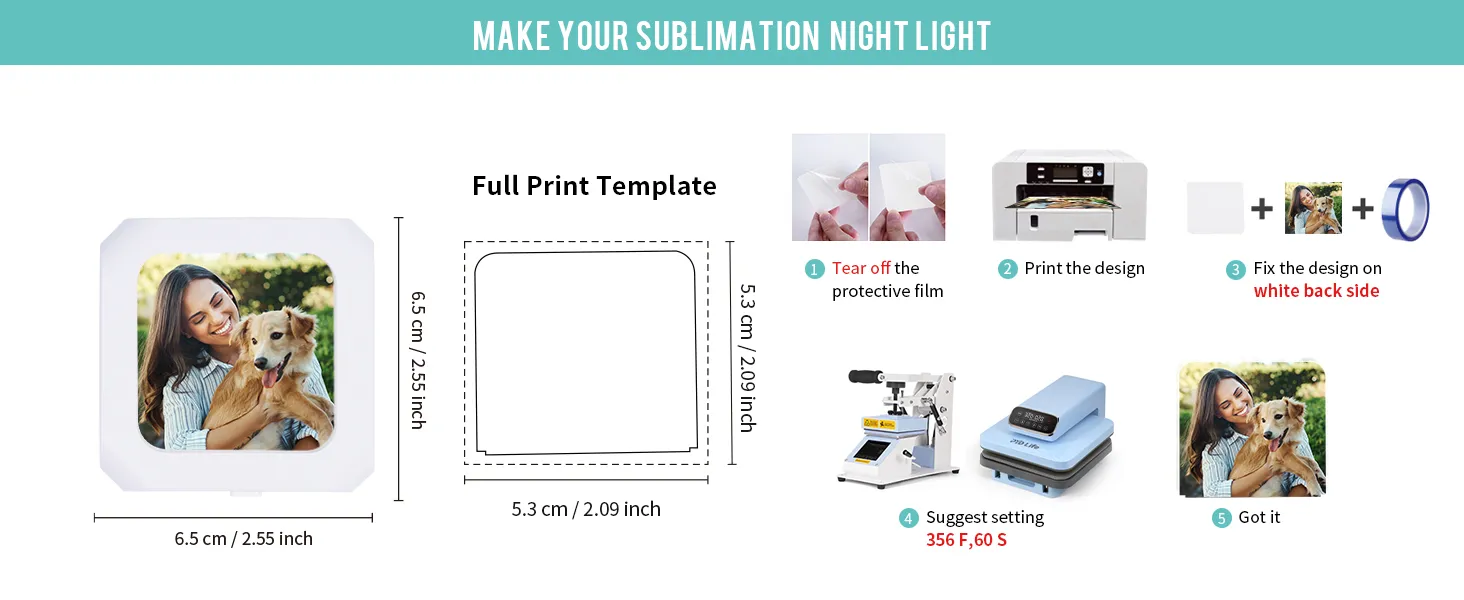
6.Best Settings for LED Night Light Plug
Recommended Starting Settings
- Temperature: 356°F (180°C)
- Time: 60 Seconds (1 Minute)
- Pressure: Medium
7.Best Settings for Acrylic LED Night Lights
Another frequently asked question is:
Can I use the same settings for acrylic night lights?
Not necessarily.
Acrylic typically transfers more quickly than glass.
Recommended Starting Settings
- Temperature: 356°F (180°C)
- Time: 120 Seconds
- Pressure: Medium
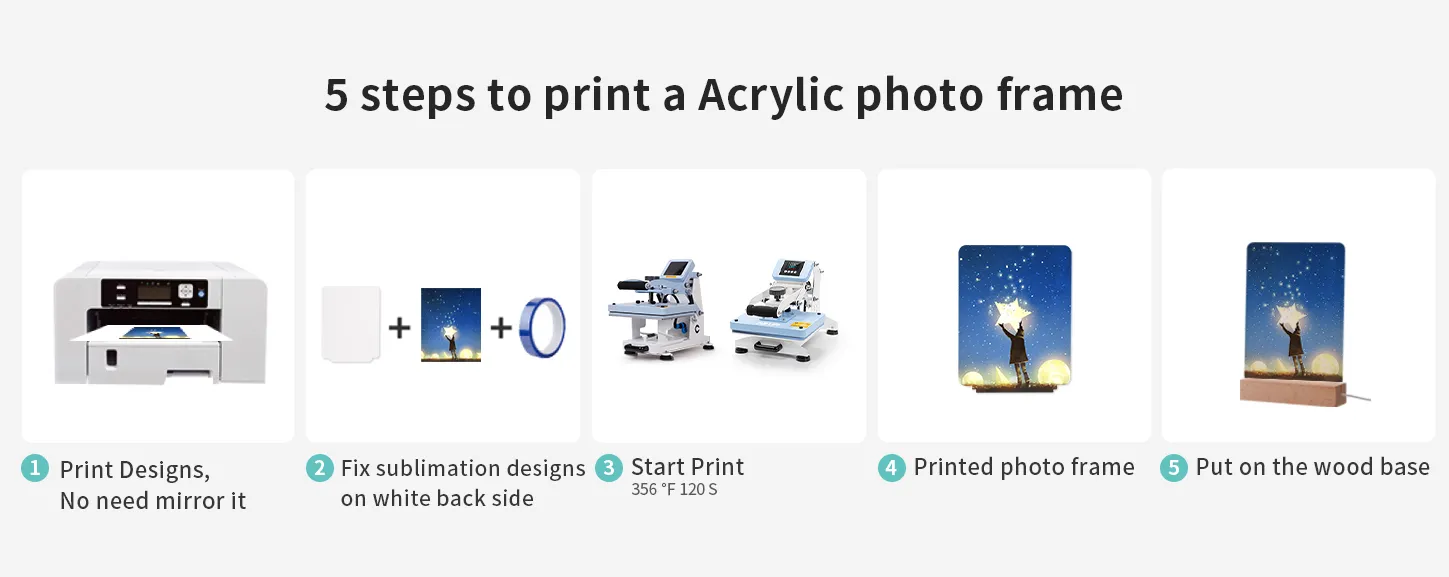
🔴Warm Tips:printing side face down when heat pressing,If your design contains text, please do not mirror before printing.
Why Is the Time Shorter?
Excessive heat exposure may cause:
❌ Acrylic warping
❌ Surface distortion
❌ Reduced image quality
❌ Uneven appearance
Always start with manufacturer recommendations and perform a test transfer before large production runs.
8.How Do You Print a Sublimation Night Light?
Step 1: Prepare Your Design—No Mirroring Needed
Have you confirmed the design is not mirrored before printing?
This is essential for sublimation because the design transfers in reverse.
Before printing:
✅ Resize the design to fit the blank
✅ No Mirror the image in your software
✅ Use high-quality sublimation paper
✅ Print with sublimation ink
A properly prepared file helps ensure sharp details and correct orientation.
Step 2: Position the Transfer on the Blank
Is the printed side facing the coated surface?
Place the transfer paper face down on the printable area and align it carefully.
Use heat-resistant tape to secure the design firmly.
Proper alignment helps prevent:
❌ Crooked images
❌ Uneven borders
❌ Ghosting
❌ Design movement during pressing
Step 3: Set the Heat Press Correctly
Have you selected the right temperature, time, and pressure?
For most sublimation night lights, use the recommended settings for the specific material.
Before pressing:
✅ Make sure the printable side is facing down or on
✅ Set the correct temperature
✅ Adjust to medium pressure
✅ Confirm the timer is ready
Correct settings help the dye fully transfer without damaging the blank.
Step 4: Heat Press the Night Light
Once everything is in place, close the press and start the timer.
Keep the blank steady during the full press cycle.
Avoid opening the press early, as this may cause:
❌ Faded colors
❌ Incomplete transfer
❌ Blurry edges
❌ Uneven saturation
Step 5: Remove the Paper and Inspect the Result
After pressing, carefully open the press and remove the blank.
Allow it to cool slightly before peeling the transfer paper, unless the blank instructions say otherwise.
Check the finished piece for:
✅ Bright colors
✅ Sharp details
✅ Even coverage
✅ Clean edges
If needed, adjust temperature, time, or pressure for the next print.
9.Why Are My Sublimation Night Light Colors Faded?
One of the most searched questions online is:
Why does my night light look dull after pressing?
Several factors may be responsible.
9.1.Is the Temperature Too Low?
Low temperatures may prevent the dye from fully transferring.
Signs include:
❌ Weak colors
❌ Gray-looking blacks
❌ Reduced contrast
❌ Washed-out appearance
Try increasing the temperature slightly if recommended by the blank manufacturer.
9.2.Was the Press Time Too Short?
Insufficient heating time can result in incomplete dye transfer.
Possible symptoms:
❌ Faded edges
❌ Weak saturation
❌ Inconsistent color density
A few extra seconds may significantly improve results.
9.3.Did You Press the Wrong Side?
This issue is especially common with glass and acrylic products.
Many blanks have only one sublimation-coated surface.
Printing on the wrong side can cause:
❌ Extremely faded transfers
❌ Weak colors
❌ Poor image quality
Always identify the coated side before pressing.
10.Why Does My Night Light Look Blurry?
Blurry images are often caused by movement during pressing.
Did the Transfer Paper Shift?
Even slight movement may create:
❌ Double images
❌ Shadow effects
❌ Loss of detail
Secure the transfer firmly with heat-resistant tape before pressing.
10.1.Was the Product Moved While Cooling?
Some users remove the transfer paper immediately after pressing.
This can occasionally cause ghosting if the paper shifts before cooling.
Allow the product to cool briefly before removing the transfer paper.